Recently, Chris Collins wrote an awesome blog post around some shortcut keys to get a Terminal window during the SetupAssistant. In the comments, Matthew Lavine wrote something that caught my attention:
Just an FYI, if the Mac comes up with the Language Chooser before the Setup Assistant then you can use the Terminal shortcut to get a root terminal.
See below for a few tricks I use and how I ultimately obtained a root terminal.
macOS testing trick 1 - Reusing base images with AutoDMG.
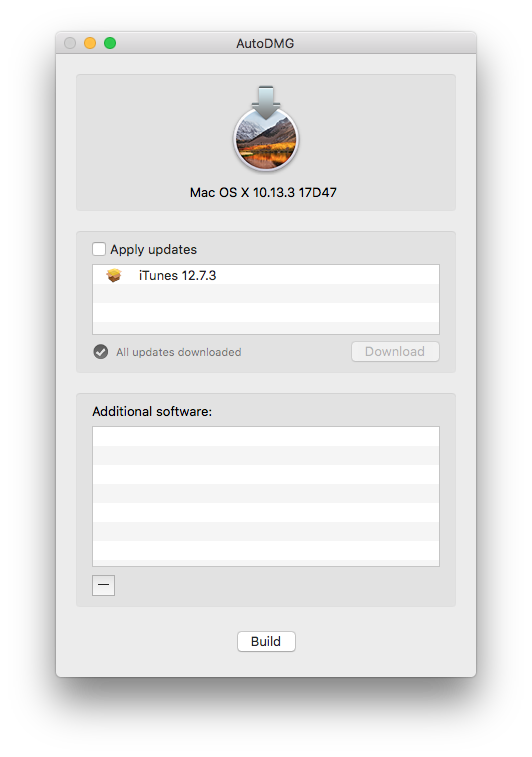
Years ago, Per Olofsson blew my mind when he told me you could use a disk image generated by AutoDMG as a source file for AutoDMG. Since then, my process for rapidly testing images (whether for DEP testing or otherwise) has been the following:
- Drag and drop the base installer app.
- Uncheck the
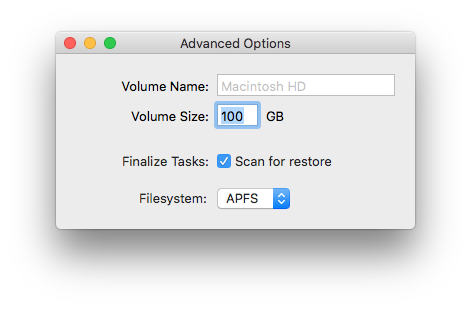
Apply updatesoption. - In the AutoDMG menu, go to
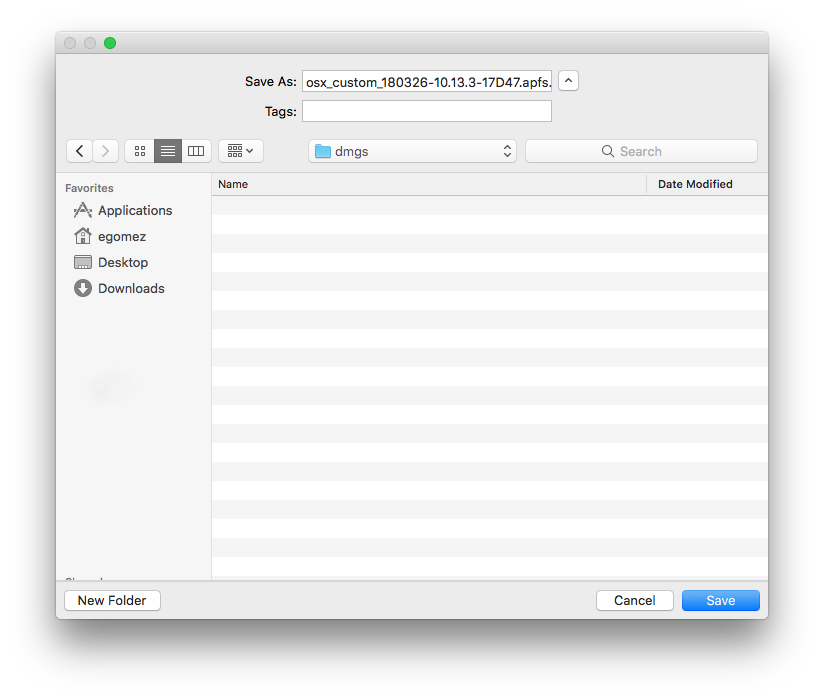
Window->Advanced Optionsand increase theVolume Size. I personally use 100GB. - Create the DMG.
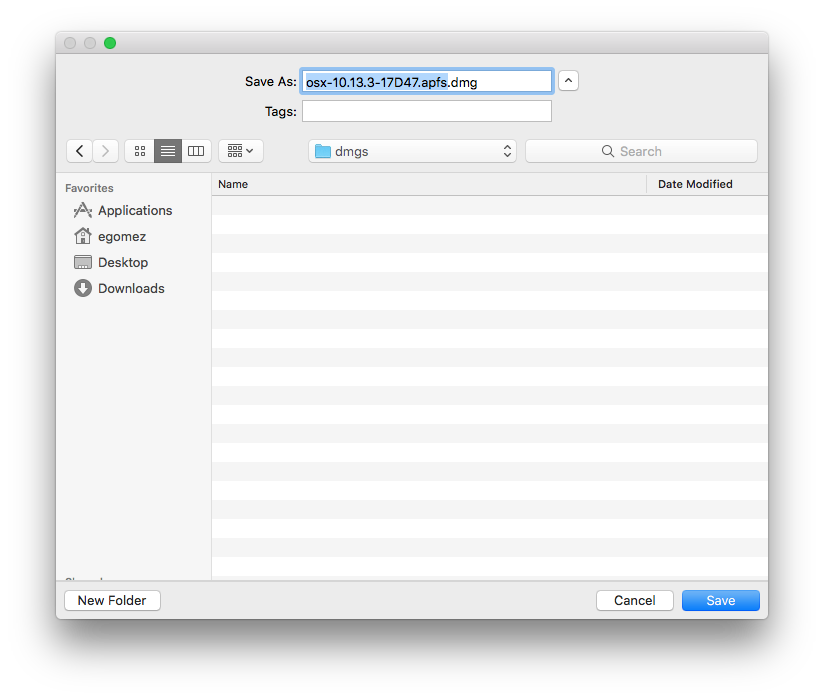
Once you have your base image, use this as your base:
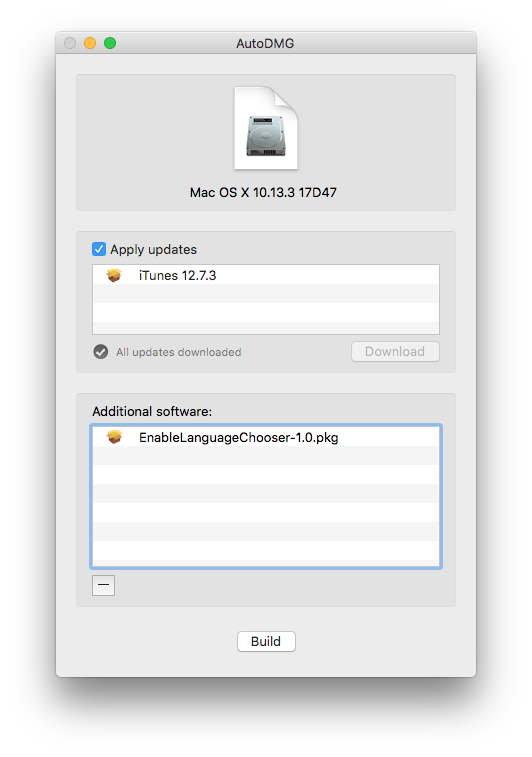
- Drag and drop the resulting dmg.
- Check the
Apple updatesoption. - In the AutoDMG menu, go to
Window->Advanced Optionsand increase theVolume Size. I personally use 100GB. - Add any custom pkgs you wish to install.
- Create the DMG.
By utilizing this method, you can quickly and easily add packages on top of an image without going through the whole hassle of creating an AutoDMG from scratch. This saves me about 20-30 minutes per build.
macOS testing trick 2 - Enabling LanguageChooser prior to SetupAssistant with AutoDMG and munki-pkg
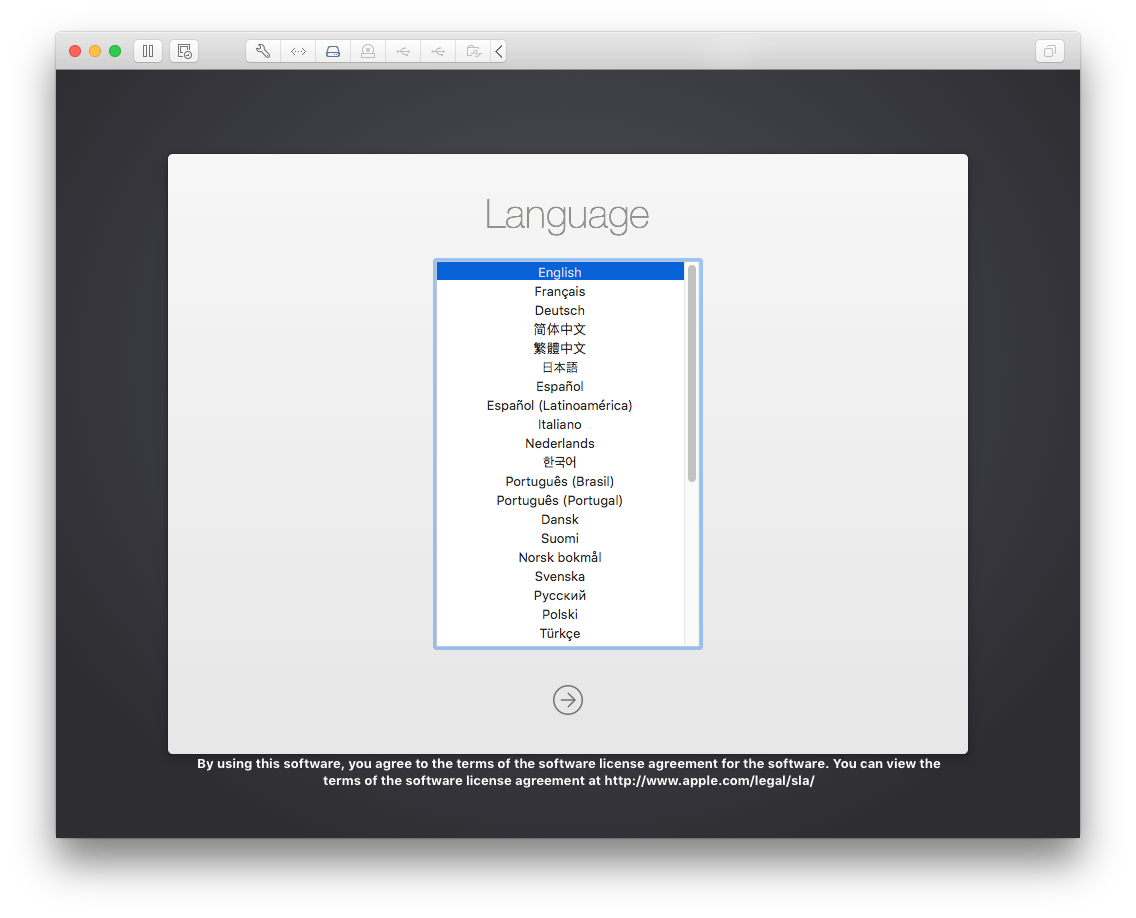
So after seeing Matthew’s comment I began googling and ultimately found a dotfile that would launch LanguageChooser. By simply touching /private/var/db/.RunLanguageChooserToo, the LanguageChooser would open up prior to SetupAssistant.
I made an installation package with a custom munki-pkg configuration and then added this to my custom AutoDMG image.
This custom image now allowed me to boot into the LanguageChooser rather than booting directly into SetupAssistant
macOS testing trick 3 - Using vfuse templates to create a DEP capable VM with a pre-allocated snapshot
Now that I had a custom image, I needed to pass that onto one of my favorite tools, vfuse.
While most people work with vfuse through its main arguments, I prefer to only use vfuse’s template argument.
vfuse -t /path/to/template
By creating a template, you can easily create new virtual machines as quickly update your templates when a new OS version comes out.
This is my DEP-MBA-10.13.3.json template that I use to test a DEP capable MacBook Air. By creating a “preboot” snapshot I can also quickly get back to a never-booted state in seconds. This is extremely useful when you are working on your DEP workflow and run into an issue that you need to fix and re-test.
{
    "source_dmg": "/dmgs/osx_updated_180125-10.13.3-17D47.apfs.dmg",
    "output_dir": "/Virtual Machines",
    "output_name": "DEP-MBA-10.13.3",
    "hw_version": 14,
    "mem_size": 4096,
    "bridged": false,
    "hw_model": "MacBookAir7,2",
    "snapshot": true,
    "snapshot_name": "preboot",
    "serial_number": "SERIALNUMBER"
}
macOS testing trick 4 - Using LanguageChooser to get a root shell and create an updated, quasi-never-booted virtual machine.
Now that we have our custom DMG and a virtual machine configured with the LanguageChooser package, let’s see what we get.
If we use the keyboard shortcut CTL + OPTION + CMD + T, we can now get a root shell. This allows us to do other things, like updating to the latest beta Operating System. This could be useful if Apple provides a beta Operating System application, but doesn’t update it for future beta builds…
Of course they would never do that…
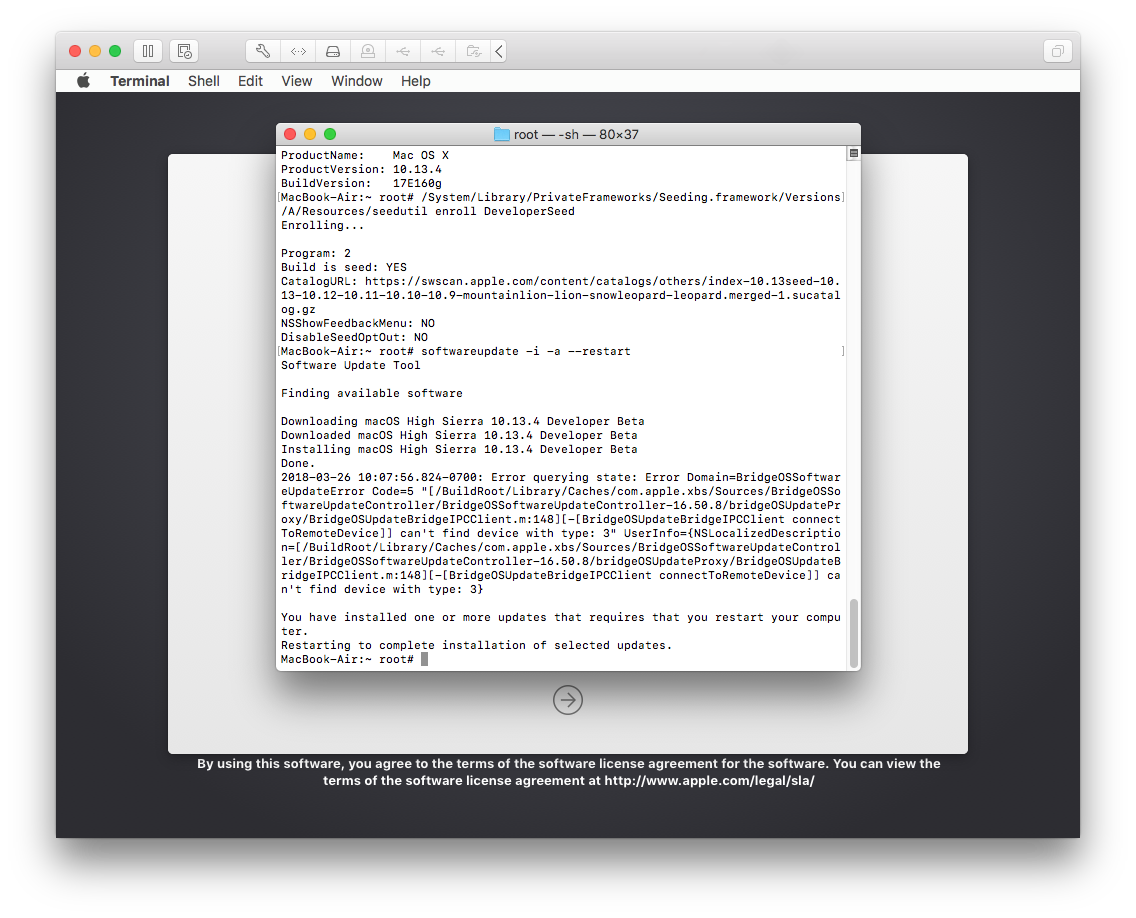
So once you have a root shell, you can enroll into the beta channel with seedutil.
/System/Library/PrivateFrameworks/Seeding.framework/Versions/A/Resources/seedutil enroll DeveloperSeed
Immediately run softwareupdate to download any available updates.
softwareupdate -i -a --restart
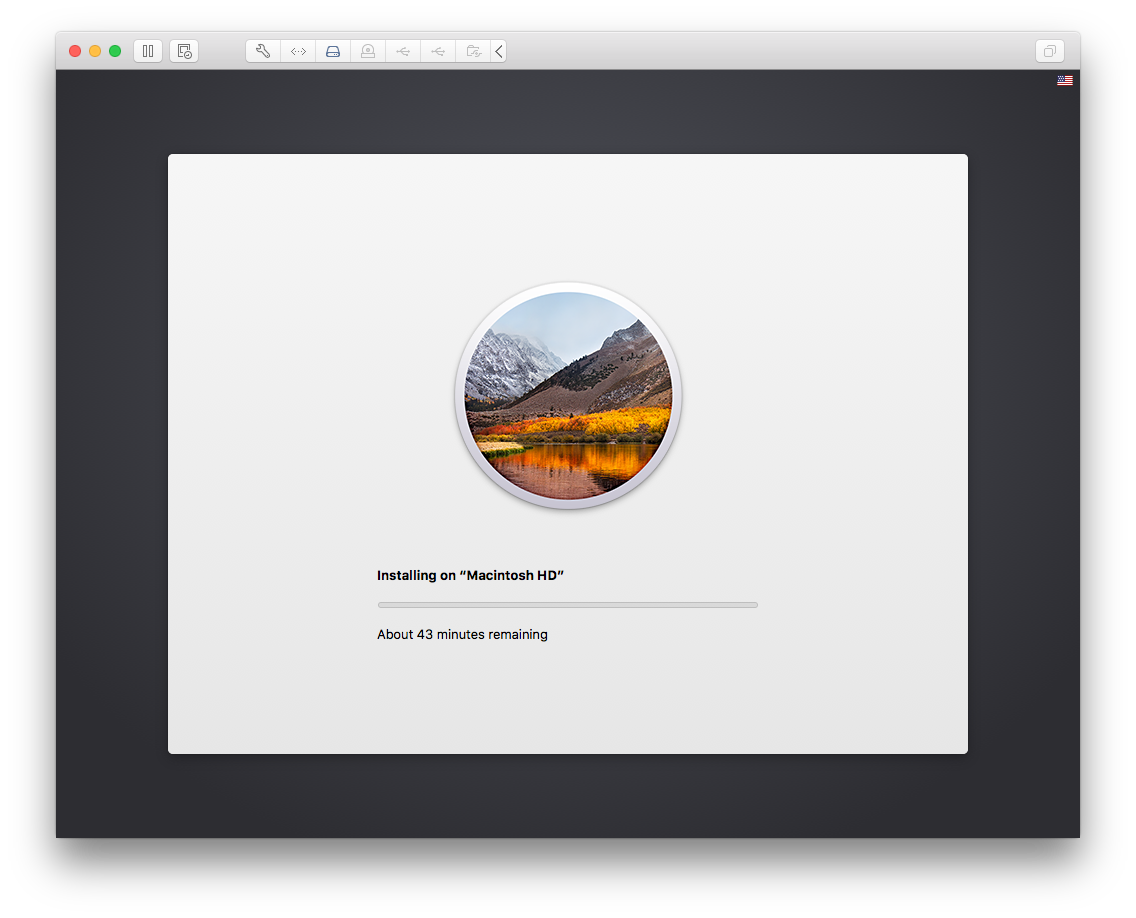
If your machine doesn’t reboot after triggering the initial installation, run reboot.
You should see this.
Once the installation is finished, you can validate that it has been successfully updated by running sw_vers.
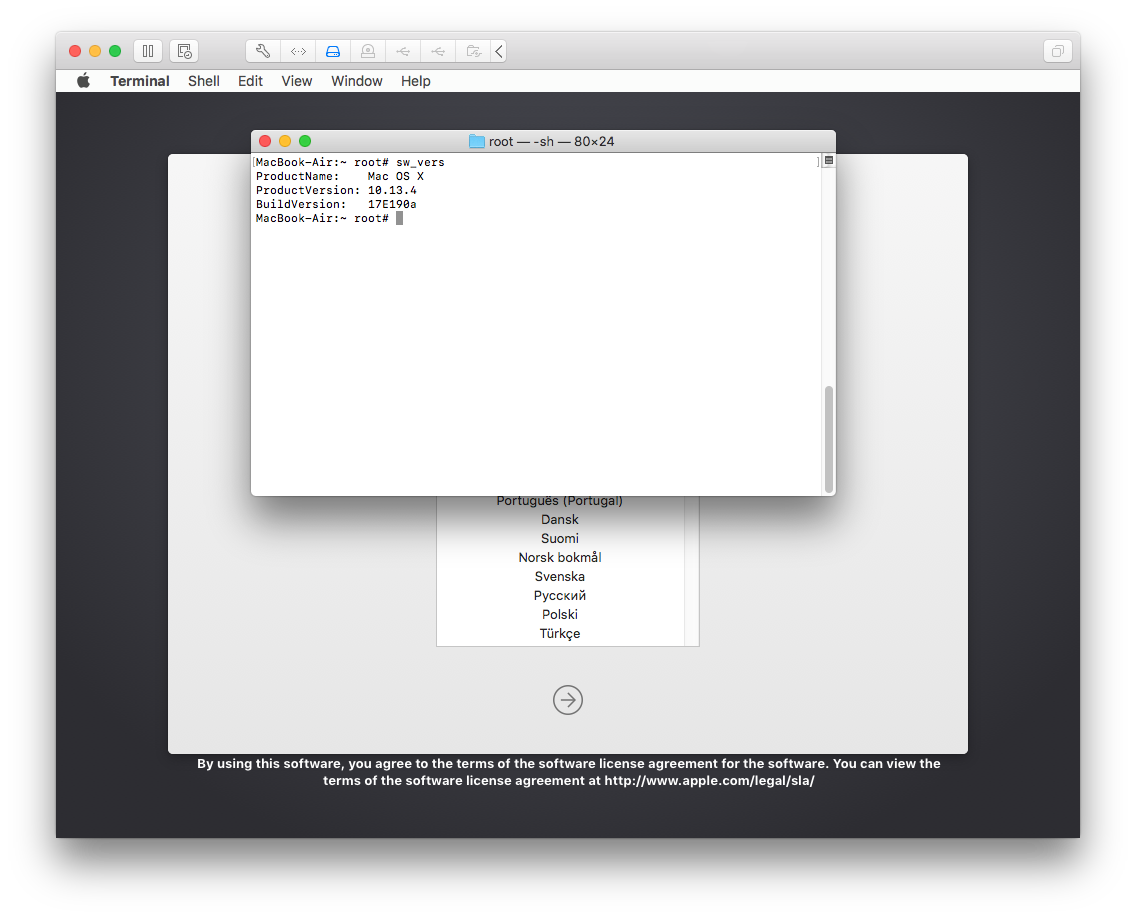
From here, issue a shutdown command and immediately create a new VMware Fusion snapshot (CMD + SHIFT + S). By utilizing this method, you can now create a fully up-to-date, quasi-never-booted virtual machine for testing things like DEP. It’s about as close as you can get without a full application installer.
Final Thoughts
While this method isn’t perfect and cannot be reliably automated, it is a great way to test beta macOS versions without application installers. Thanks to Chris and Matthew for originally documenting the pieces needed to do this.
TL/DR
- Create a custom AutoDMG image and use the custom munki-pkg
- Convert the dmg to a virtual machine with vfuse
- Boot into virtual machine and once you see the LanguageChooser, use the
CTL + OPTION + CMD + Tkeyboard shortcut. - With a root shell, you can now run any root command you would like.
- If you need to, enroll into one of the beta seeds by using seedutil:
/System/Library/PrivateFrameworks/Seeding.framework/Versions/A/Resources/seedutil enroll DeveloperSeed - Update the Operating System with softwareupdate:
softwareupdate -i -a --restart - The virtual machine should reboot, but if it doesn’t, use
rebootto initiate a reboot. - Once the Operating System is back at LanguageChooser, initiate a shutdown with
shutdown. - Create a snapshot and use this as your base.
- Get to testing :)
Table Of Contents
- macOS testing trick 1 - Reusing base images with AutoDMG.
- macOS testing trick 2 - Enabling LanguageChooser prior to SetupAssistant with AutoDMG and munki-pkg
- macOS testing trick 3 - Using vfuse templates to create a DEP capable VM with a pre-allocated snapshot
- macOS testing trick 4 - Using LanguageChooser to get a root shell and create an updated, quasi-never-booted virtual machine.
- Final Thoughts
- TL/DR
- Table Of Contents